Configuration description
Keyrock is a powerful tool that could be easy configured to suit up with the specific needs of each use case. These are the main configurations:
-
Host and port.
-
Debug.
-
HTTPS.
-
Security (user session, password encryption and CORS).
-
OAuth2.
-
eIDAS.
-
API.
-
Database.
-
External authentication.
-
Authorization.
-
Mail Server.
-
Email filtering.
-
Site (themes).
All this configurations could be done using environment variables. To check the list of environment vairables go to the next section.
Apart from the config.js file, the UI has an aministration user view from which users could be easily managed.
Host and Port
These are the basic configurations of Keyrock. The first configuration is to indicate in which port will be Keyrock listenning if HTTPS is not enabled. Host configuration is to indicate the domain name of Keyrock in prodoction. Otherwise it should be set to "http://localhost:" when running on development.
config.port = 80;
config.host = "http://keyrock-domain-name.org:" + config.port;
Debug
Enable this configuration to display logs related to requests of resources or performed SQL statements with the database.
config.debug = true;
In addition, you can run Keyrock in debug mode with the following shell command:
npm run debug
To run this command is mandatory to install nodemon which will restart server anytime a change the code changes.
Enable HTTPS
Follow the next steps in order to enable the server to listen to HTTPS requests.
- Generate OpenSSL certificates.
./generate_openssl_keys.sh
- Enable HTTPS in config.js.
config.https = {
    enabled: true,
    cert_file: "certs/idm-2018-cert.pem",
    key_file: "certs/idm-2018-key.pem",
    port: 443
};
- Start server with admin rights
sudo npm start
Security
Apart from HTTPS there are other 3 configurations related to handle security:
- Session management. This parameter is used to set the key to encrypt user sessions in the UI and the duration of the user session. For security reasons, it is recommended to create a random key any time the server is restarted. For instance:
config.session = {
    secret: require("crypto")
        .randomBytes(20)
        .toString("hex"),
    expires: 60 * 60 * 1000
};
- Password encryption. Currently salt password is supported in Keyrock so this parameter will be deprecated in the future. Anyway this could be configured to encrypt password in case a developer decided not to use salt passwords.
config.password_encryption = {
    key: "idm_encryption"
};
- CORS. This allows Keyrock to manage requests coming from another domain different to Keyrock's one. Through this configuration you can indicate which HTTP methods will be allowed, from which domain could requests come, etc. This is the default CORS configuration:
config.cors = {
    enabled: true,
    options: {
        origin: "*",
        methods: ["GET", "HEAD", "PUT", "PATCH", "POST", "DELETE"],
        allowedHeaders: undefined,
        exposedHeaders: undefined,
        credentials: undefined,
        maxAge: undefined,
        preflightContinue: false,
        optionsSuccessStatus: 204
    }
};
OAuth2.0
Some features of Keyrock could be configured. Most of them are related to lifetime of tokens.
-
Authorization code, access token and refresh token lifetimes could be changed easily. If you change one of this values it means that all services register in Keyrock will be updated with this nea values.
-
Ask authorization. The General Data Protection Regulation (GDPR) forces clients to ask for a consent to obtain the user information. Actually, this parameter should be always true, but there are some cases in which is useful to set it to false. For instance, if a service in which existing users have already gave their consent before and now this service wants to use Keyrock but with their own user table to authenticate those users(see External authentication).
-
Unique URL. Currently, Keyrock allows to register services with the same URL. In case a Service has not included Sign-out Callback URL Keyrock will redirect sign out requests to the address stored in URL attribute. So, if unique URL is not enable, some sign-out process could fail due to bad request redirections.
config.oauth2 = {
    authorization_code_lifetime: 5 * 60,
    access_token_lifetime: 60 * 60,
    ask_authorization: true,
    refresh_token_lifetime: 60 * 60 * 24 * 14,
    unique_url: false
};
Check Connecting to IdM with OAuth2.0 to obtain a whole description of this feature.
eIDAS
Check Connecting IdM to eIDAS to obtain a whole description of this feature. An example of this configuration is:
config.eidas = {
    enabled: true,
    gateway_host: "localhost",
    node_host: "https://se-eidas.redsara.es/EidasNode/ServiceProvider",
    metadata_expiration: 60 * 60 * 24 * 365
};
API
As in OAuth2.0 configuration, the API token lifetime could be changed to be shorter or larger based on the individual need of each Keyrock instance deployed.
The API of keyrock to manage its own resources can be configure slightly
config.api = {
    token_lifetime: 60 * 60
};
Database
There are several parameters related to the database configuration that could be change:
-
Host. Is the domain name or IP of the machine in which the database is running.
-
Port. If not configured, the port assigned is the default one for each SQL dialect. For instance, MySQL use 3306 por by default.
-
Username and password. Some databases dialects as MySQL or Postgres needs to authenticate an entity before performing actions against the database.
-
Dialect. This paramter indicates which type SQL database is going to be used.
config.database = {
    host: "localhost",
    password: "idm",
    username: "root",
    database: "idm",
    dialect: "mysql",
    port: undefined
};
External Authentication
You can also configure the Identity Manager to authenticate users through an external database.
When using this option, after the user correclty authenticates using his/her remote credentials, a local copy of the user is created. For authenticating the user externally Keyrock needs to read a set of user attributes from the external database. These attributes are:
-
id: A unique identifier of the user. The local copy of the user will have an identifier with the result of concatenating the configured prefix (config.external_auth.id_prefix) and the external ID.
-
username: the display name of the user.
-
email: the email address is the value used for authenticating the user.
-
password: the encrypted password of the user.
-
passwordsalt: if not specified, the value set in _config.external_auth.password_encryption_key will be used for checking the password encryption.
It is very common that the external database does not have a table with these parameters. In such case you can create a database view for exposing them.
If your external database has the user data separated in two tables named USERS and ACTORS with the following structure:
USERS Table
| ID | encrypted_password | password_salt | created_at | last_sign_in_at | actor_id |
|---|---|---|---|---|---|
| 1 | g34h432hjk54k2j | 1234 | 2015-06-10 08:26:02.0113 | 2018-06-10 08:26:02.0113 | 12 |
| 2 | 2h43h7fdj38302j | 1234 | 2015-01-10 08:26:02.0113 | 2018-01-10 08:26:02.0113 | 22 |
| 3 | j328478j328j423 | 1234 | 2015-02-10 08:26:02.0113 | 2018-10-10 08:26:02.0113 | 5 |
ACTORS Table
| ID | name | logo | |
|---|---|---|---|
| 12 | Melinda López | melinda@test.es | http://mylogo.es/12344 |
| 22 | Juanli Jons | juanli@test.es | http://mylogo.es/12121 |
| 5 | Lesha Magnen | lesha@test.es | http://mylogo.es/1212 |
You can create a view with the SQL statement
CREATE VIEW USER_VIEW AS
    SELECT USERS.id, USERS.password_salt, USERS.encrypted_password as password, ACTORS.email, ACTORS.name as username
    FROM USERS,ACTORS
    WHERE USERS.actor_id = ACTORS.id;
And this will create a view with the structure Keyrock needs to authenticate users:
USER_VIEW Table
| ID | password_salt | password | username | |
|---|---|---|---|---|
| 1 | 1234 | g34h432hjk54k2j | melinda@test.es | Melinda López |
| 2 | 1234 | 2h43h7fdj38302j | juanli@test.es | Juanli Jons |
| 3 | 1234 | j328478j328j423 | lesha@test.es | Lesha Magnen |
For enabling this external authentication you have to modify config.js file customizing the database attributes.
config.external_auth = {
    enabled: true,
    id_prefix: "external_",
    password_encryption_key: undefined,
    ecryption: "bcyrpt",
    database: {
        host: "localhost",
        port: undefined,
        database: "idm",
        username: "root",
        password: "idm",
        user_table: "user_view",
        dialect: "mysql"
    }
};
The way to check password validity can be customized in with parameter external_auth.encryption. SHA1 and BCrypt are currently supported.
Authorization
Configure Policy Decision Point (PDP)
-
IdM can perform basic policy checks (HTTP verb + path).
-
AuthZForce can perform basic policy checks as well as advanced.
If authorization level is advanced you can create rules, HTTP verb+resource and XACML advanced. In addition you need to have an instance of authzforce deployed to perform advanced authorization request from a Pep Proxy. If authorization level is basic, only HTTP verb+resource rules can be created
In order to allow this characteristic you need to edit the config file:
config.authorization = {
    level: "basic", // basic|advanced
    authzforce: {
        enabled: false,
        host: "localhost",
        port: 8080
    }
};
You can configure the IdM to send emails to users. Follow this tutorial to configure Postfix as a Send-Only SMTP Server on Ubuntu 14.04. Then edit config file:
config.mail = {
    host: "idm_host",
    port: 25,
    from: "noreply@host"
};
Email filtering
In order to increase control over who is sign up in Keyrock you can configure an email domain filter. There are two approaches:
-
whitelist. It is a list in which you define valid email domains that can register in Keyrock.
-
blacklist. It is a list in which you define which email domains are going to be block when registering in Keyrock.
Once you have decided which approach use, you need to fill the corresponding file under /etc/email_list. These lists should have a domain(withour @) per line. For instance, a whitelist would be like:
allow.com
valid.es
permit.com
If this parameter is set to null or undefined it means that there won't be performed any email domail filtering. Example of configuration:
config.email_list_type = "whitelist";
Configure themes
You can customize the appearance of the web portal. By default there are two themes: default and fiwarelab.
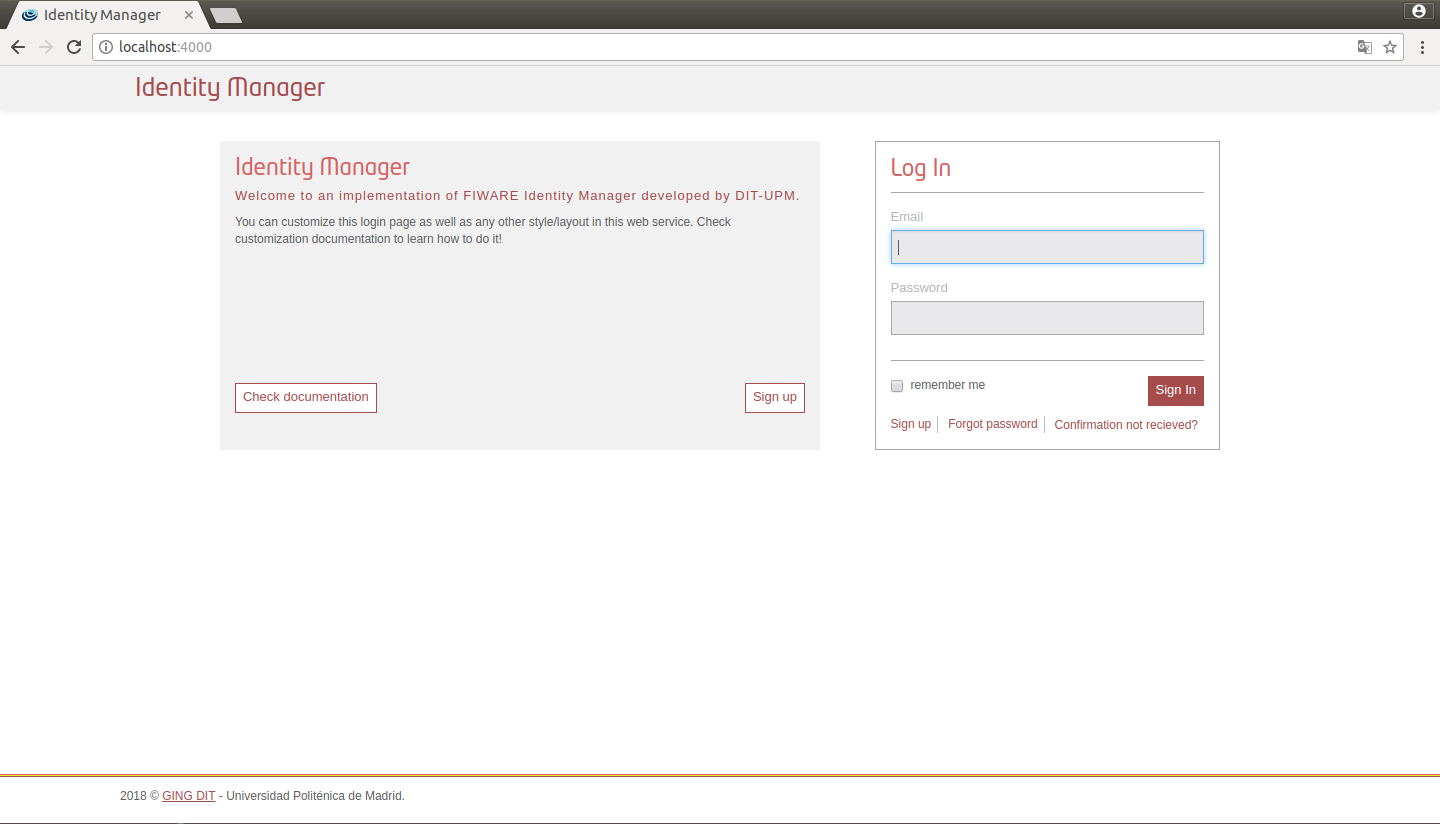
Figure 1: IdM default view
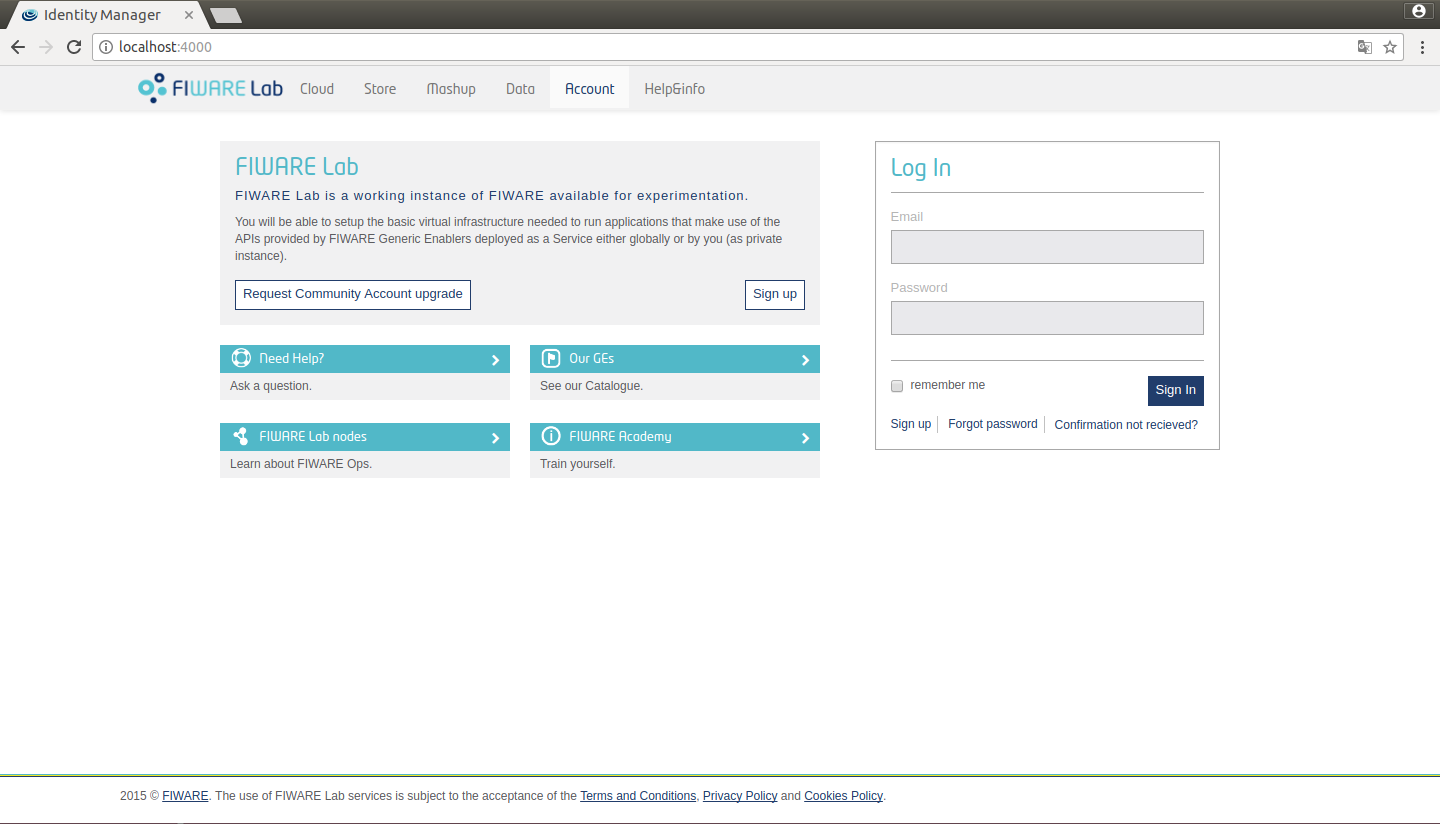
Figure 2: IdM fiware view
You can change between these themes in config.js
config.site = {
    title: "Identity Manager",
    theme: "default" // default/fiwarelab
};
Additionally you can customize your own theme. In order to do that follow these steps:
- Create a new subfolder in themes directory
mkdir themes/example
- Generate _colors.scss, _styles.scss and style.scss
cd themes/example && touch _colors.scss _styles.scss style.scss
- Add these lines to style.scss
/****************************** Default colors */
@import "../default/colors";

/****************************** Custom colors */
@import "colors";

/****************************** Default styles */
@import "../default/styles_call";

/****************************** Custom styles */
@import "styles";
- Edit _colors.scss. For example:
/****************************** Custom colors rewrite */

$brand-primary: purple;
$brand-secundary: orange;
- Change config.site to use the new theme:
config.site = {
    title: "Identity Manager",
    theme: "example" // default/fiwarelab
};
Run again Keyrock to see the new appearance:
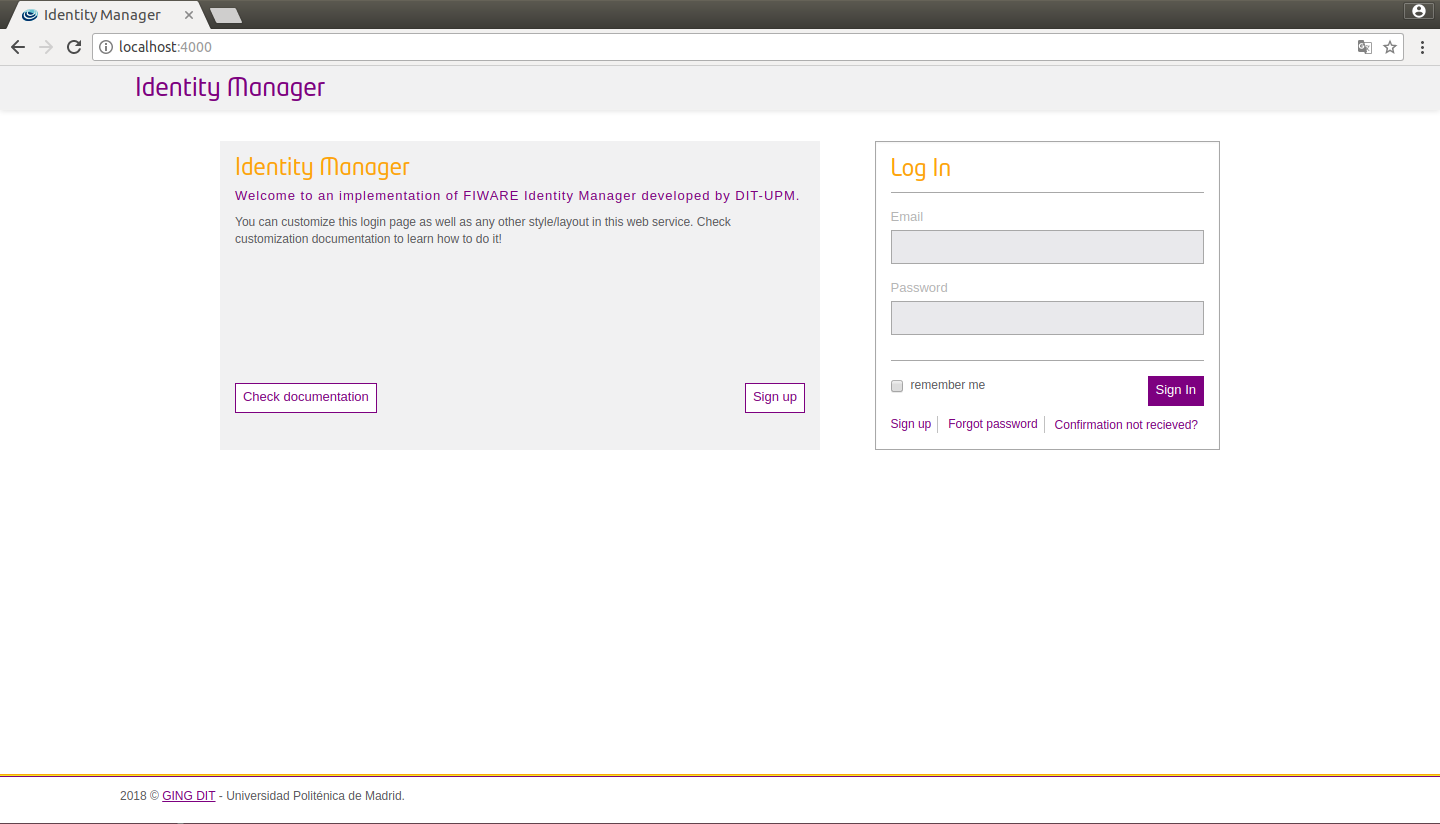
Figure 3: IdM custom view
You can also configure a new logo in _styles.scss.
/****************************** Custom styles rewrite */

.logo-header .brand {
    background-image: url(../img/example.png);
    width: 150px;
    background-size: 150px 37px;
}

.logo-header {
    float: left;
}

.presentation {
    .media {
        height: auto;
        footer {
            margin-top: 15px;
        }
    }
}
Furthermore you can customize the header, footer, presentation and help of your portal. To do that create a folder, generate files and then customize them.
mkdir themes/example/templates
cd themes/example/templates && touch _footer.ejs _header.ejs _presentation.ejs _help_about_items.ejs
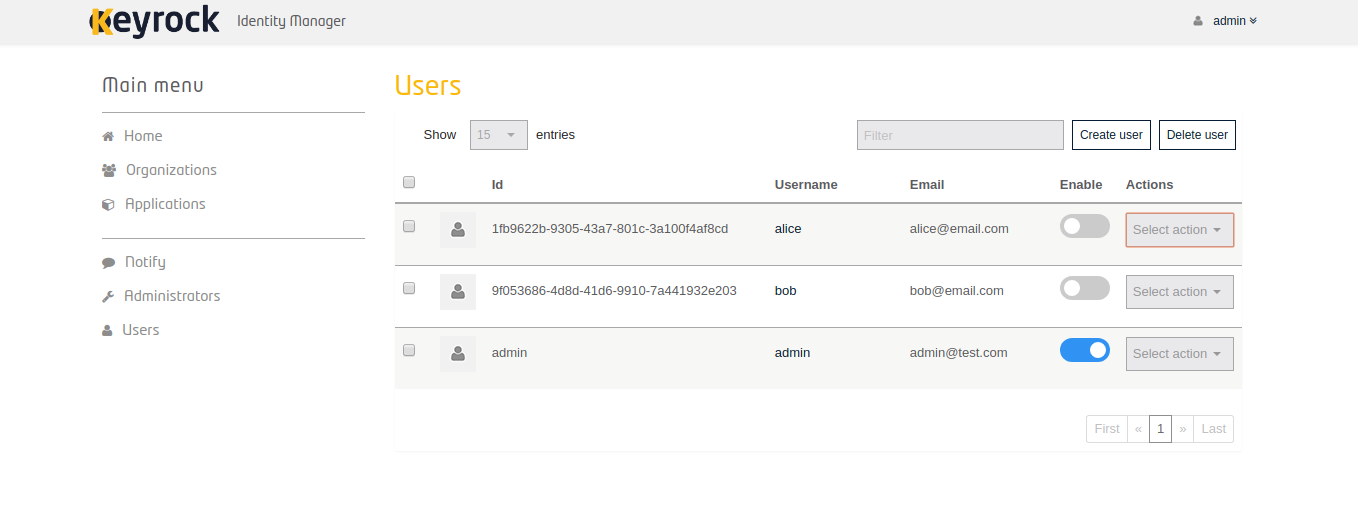
Admin Panel
Keyrock provides an interface in which administrators could easliy manage the users accounts. Actions as create, edit, delete, enable users as well as reset passwords of them could be performed through this functionality.